Materials:
- Plum wood (flat and dry), cca 3cm thick
- Shellack (flakes)
- 95+% acohol
- hair brush
- Epoxy (G/flex)
- 5 minute epoxy
- Diamond flattening plate from JKI
- brass (metal) brush
- sanding paper (120, 240, 400, 1000)
- steel wool (extra fine)
- marble table top plate (used as flat surface to support the sanding paper)
have not done that before and at the beginning got a real headache researching what materials to use to seal the stone and to finish the surface of the wood. Cashew lacquer is often recommended to seal sharpening stones, but I could not get my hands on any, then there is Urushi which is rather expensive plus different modern water resistant . For wood there are many different options. Finally - I have decided to go with shellack and it turned out to be a good solution.
So - I started finding a nice flat piece of plum wood. Why plum wood? It was not too expensive, it is a hard wood and it holds up well with water around (I have 2 plum wood spoons and they are great) and it looked lovely. And it had the proper width, so I did not have to do much cutting :)
I started with cutting the board to size. I was left with a piece of about 8 x 10 cm large and I have decided to use it to test the finish.
The wood - testing
I have first rounded all corners with a file and then sanded the wood with 120, 240, 400 and 1000 grit sanding paper. With the bottom I only went up to 240 so it would not be sliding on wet surface too easily. |
| Left: original surface of the wood Right: Wooded sanded to #1000 and finished with steel wool |
I have mixed the shellack with alcohol at a ration 1:5 (weight). I actually first did 1:3, but that has proved to be too thick. 1:5 ratio made it easier to get an even layer on the wood.
When I was lacquering the testing piece I sanded the wood with steel wool after each coat. That has proved not to be the best idea as the coat was so thin, than I nearly completely took it of. After this experience I first did 3 thin coats on the board before I would sand it with a steel wool. I would then apply 4th coat and sand it again (very lightly). Because I have used steel wool to finish the surface it was not polished, but slightly matted (but still very smooth to touch).
The stone - testing
To test the second step I have used small piece of stone that was a by product of making fingerstones. I have flatten it with the diamond plate before put tin on a few coats of shellack then glued it to the testing board using epoxy. Since the bond was very strong I have proceeded to the main board & stone.
 |
| Piece of stone glued to the testing board using epoxy. |
Preparing the stone
This was a little challenging. The stone did not have a regular shape and the bottom of it was strongly uneven. While it was not necessary (and frankly also not possible) to flatten the whole bottom side of the stone, I wanted to achieve to have contact points over full length and width at least on some areas of the stone. Even though this stone was not particularly hard, I needed 2 hours of work to get the result I wanted. During this process a short-hair metal brush proved very helpful to remove stone dust from the diamond plate. When finishing the stone shaping I was particularly careful to make sure the flattened part is indeed flat. |
| After about 20 minutes of flattening with the diamond plate. |
 |
| After 2 hours of flattening. |
 |
| A lot of stone dust was produced in the process |

The stone was very thin in one place. To minimize the risk of loosing this part too early I have applied a thick layer of 5 minute epoxy from underneath to support the thin stone. This worked rather well.
 |
| Applying a layer of epoxy to support thin part of the stone. |
Preparing the board
I have basically followed the steps as described in the testing. To speed up the sanding I have taped a sheet of sanding paper to a marble plate which gave me a perfectly flat surface to sand on.
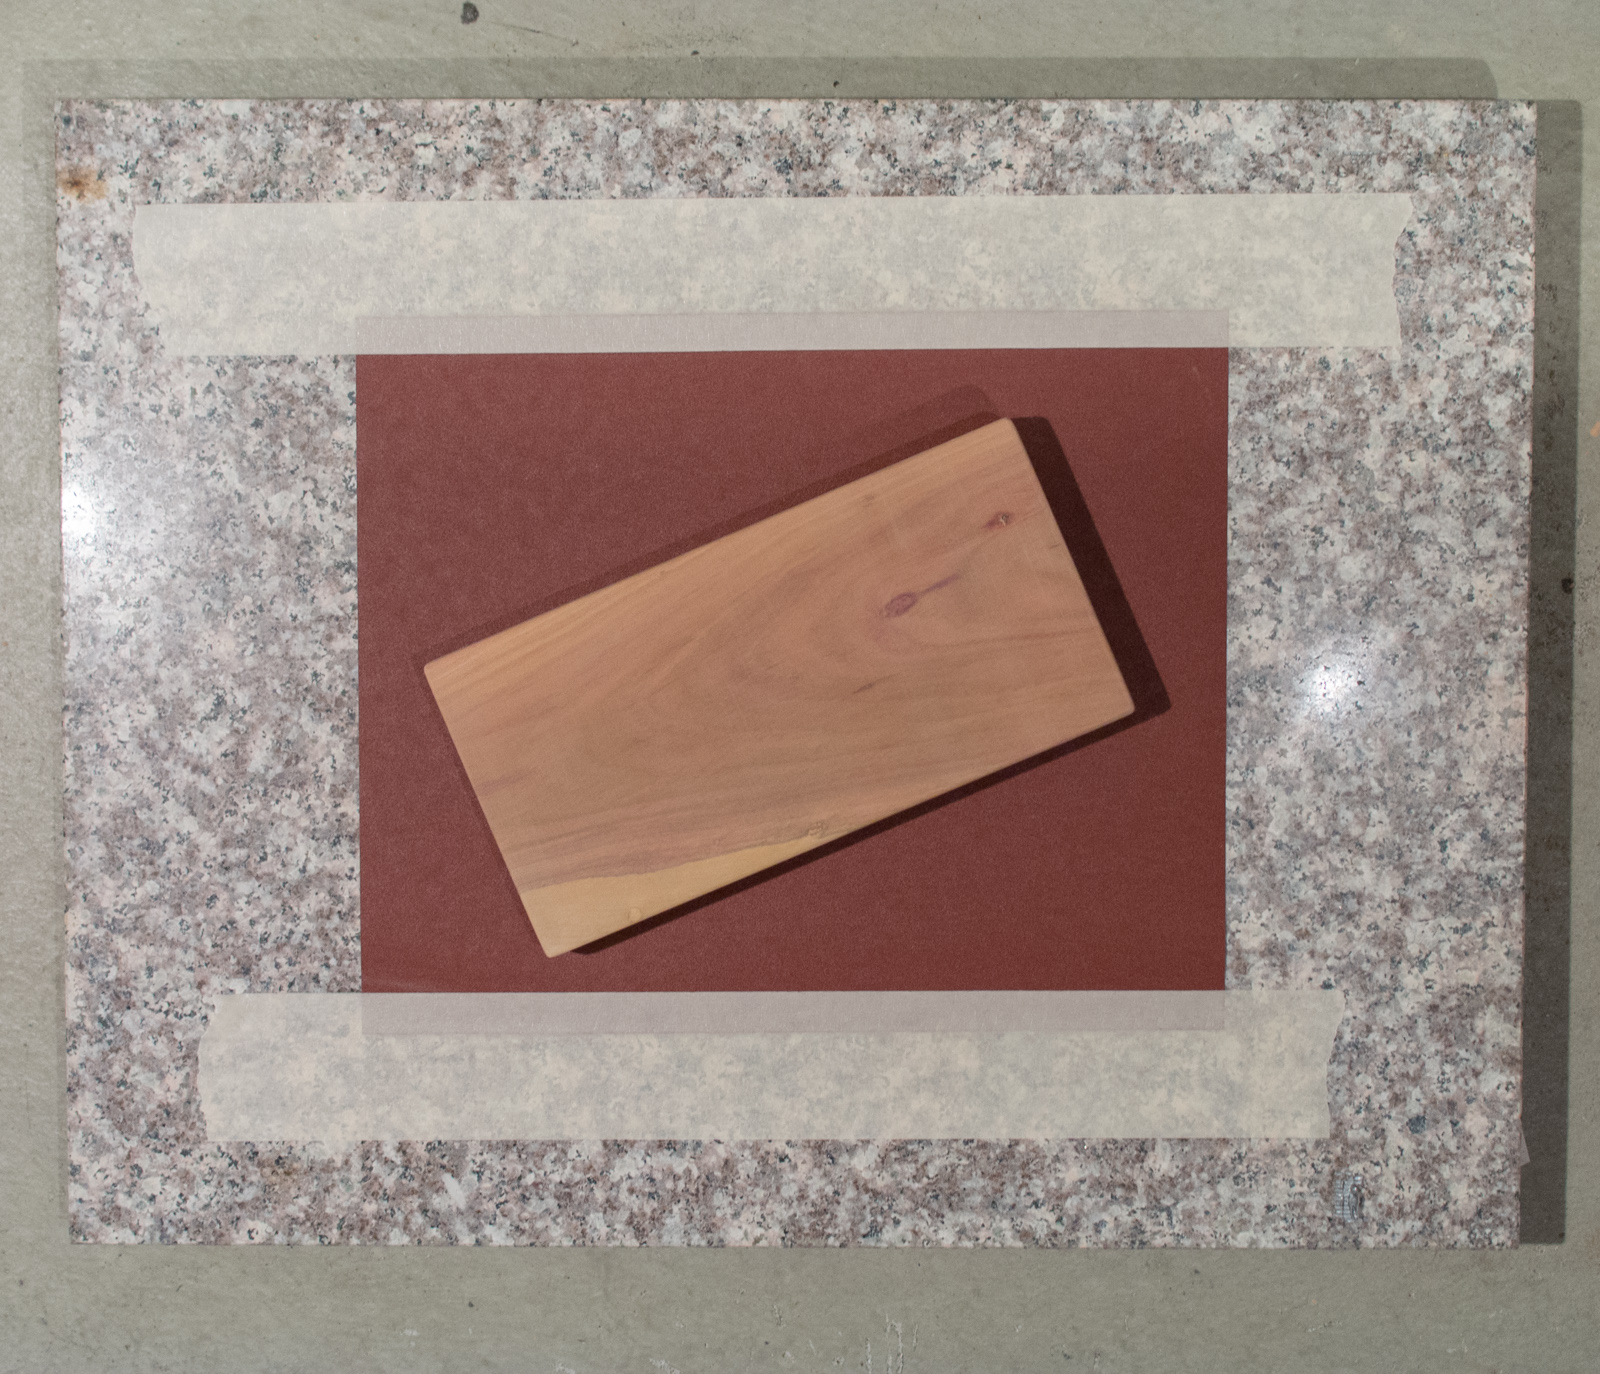 |
| Sanding the wood. |
Once the wood was sanded I have applied 3 coats of shellack, then gently polished/sanded it with steel wool. One more coat and one more sanding and it was finished. The shellack really brought up the fine structure of the wood. I could not help but think that it would have made for a few lovely knife handles :)
 |
| Applying a coat of shellack to one side of the stone. |
 |
| Detailed of the finished surface |
Gluing
This may sound trivial, but it proved a little tricky. One of the less ideal decisions was to chose a thin and long curing epoxy (G/flex). I really like this epoxy and have made very good experience with it so far, but being really on the thin side made the gluing a lesson in patience. The slow curing was the good part of it, as it actually takes quite a while to mix and apply this large amount of glue (and I had to mix up some more as I underestimated how much will be necessary), but being thin the glue had a tendency to run off long after I have expected it to.
 |
| Using a clamp and machinist square as an 'anchor' to keep the stone in place while the glue was curing. |
 |
| Finished stone. |
Summary
Arguably this was a relatively simple project and since I (apparently) did not make any major mistake it turned out really nice. One possible update to the future would be to grind/sand the wood from the bottom part so that board would get a slightly 'bridge' like shape standing only on the ends of the board. All stones that were mounted in Japan were done this way - I suppose to allow the wood to dry after sharpening.
Also, since this project went rather well I will son be mounting a lovely Aka-Renge shiro suita from Ohira-yama in a similar manner.
Thank you for reading, please do not hesitate to ask questions :)
No comments:
Post a Comment